Polish and Melanin | Holiday Pairings
/It’s party time, time to get out all the glitz and shimmer. I’ve created 3 easy nail pairings that you can wear this holiday season. They are quick and easy and take very little time, just the way I like it. The concept of each pairing is simple and you can easily change out the shades I’m using and replace them with ones that you prefer. Again the combo’s aren’t ground breaking by any means but I do think they will elevate your look, should you choose to use them.
Navy And Copper
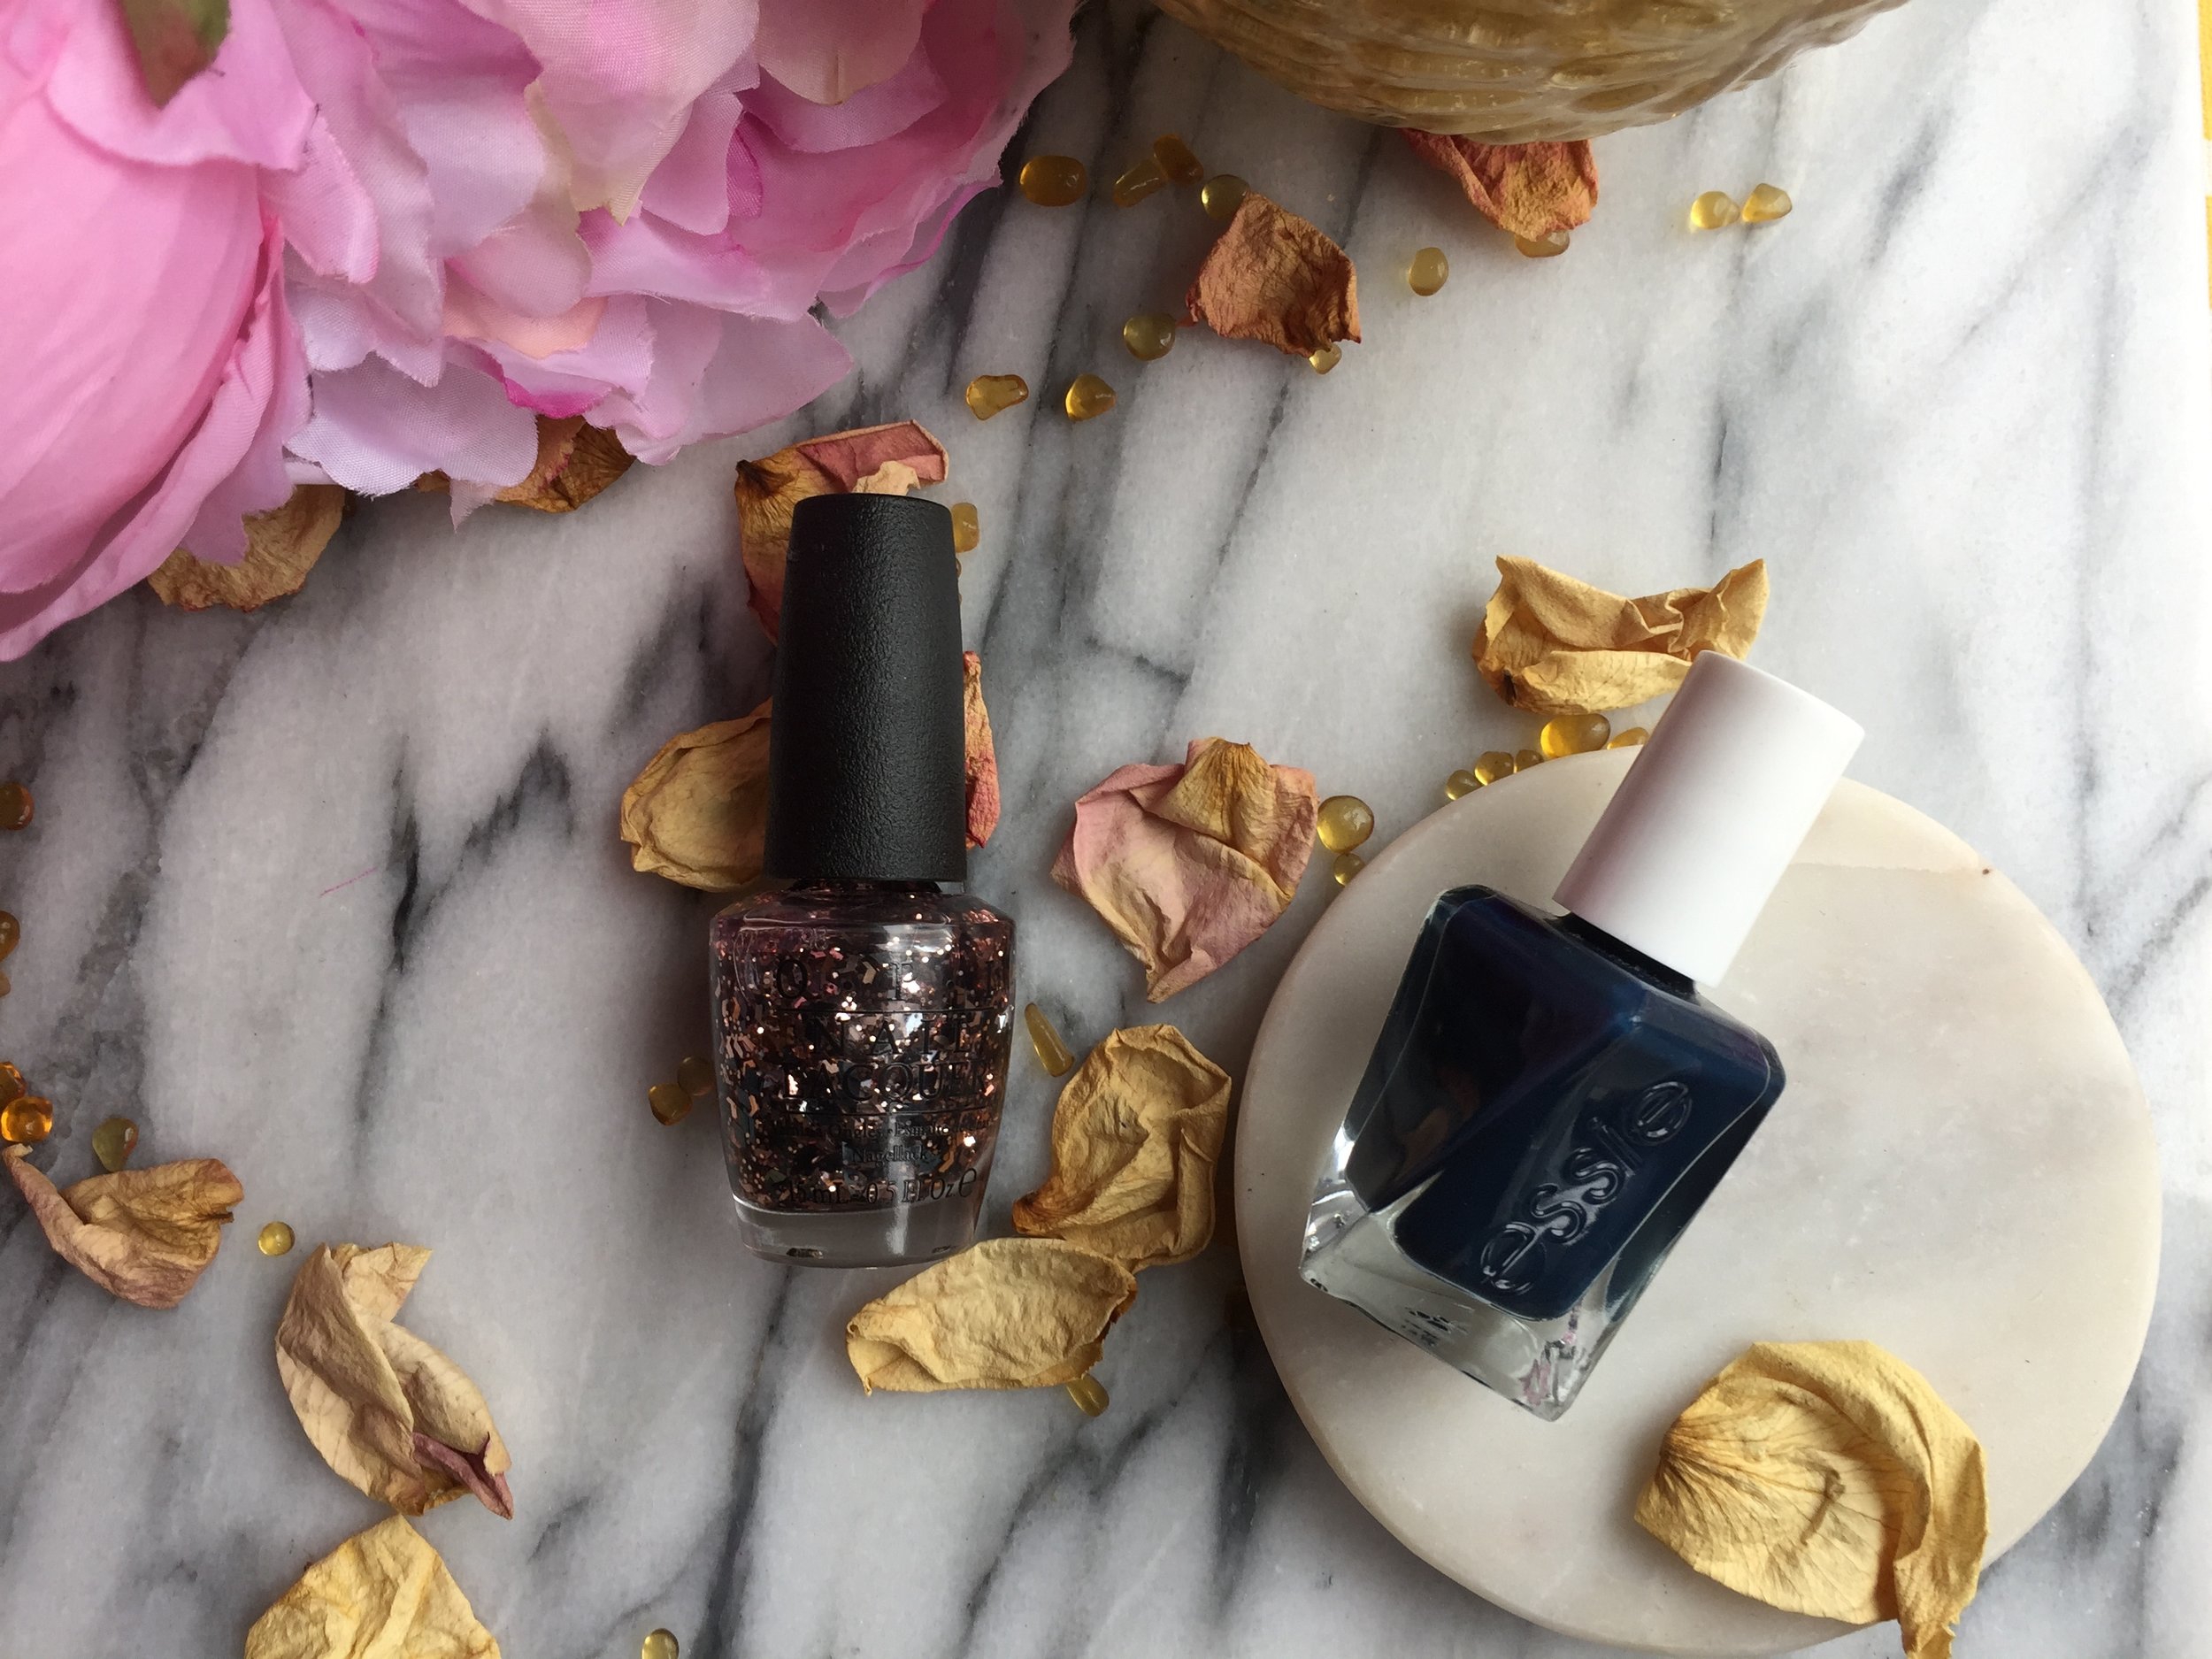
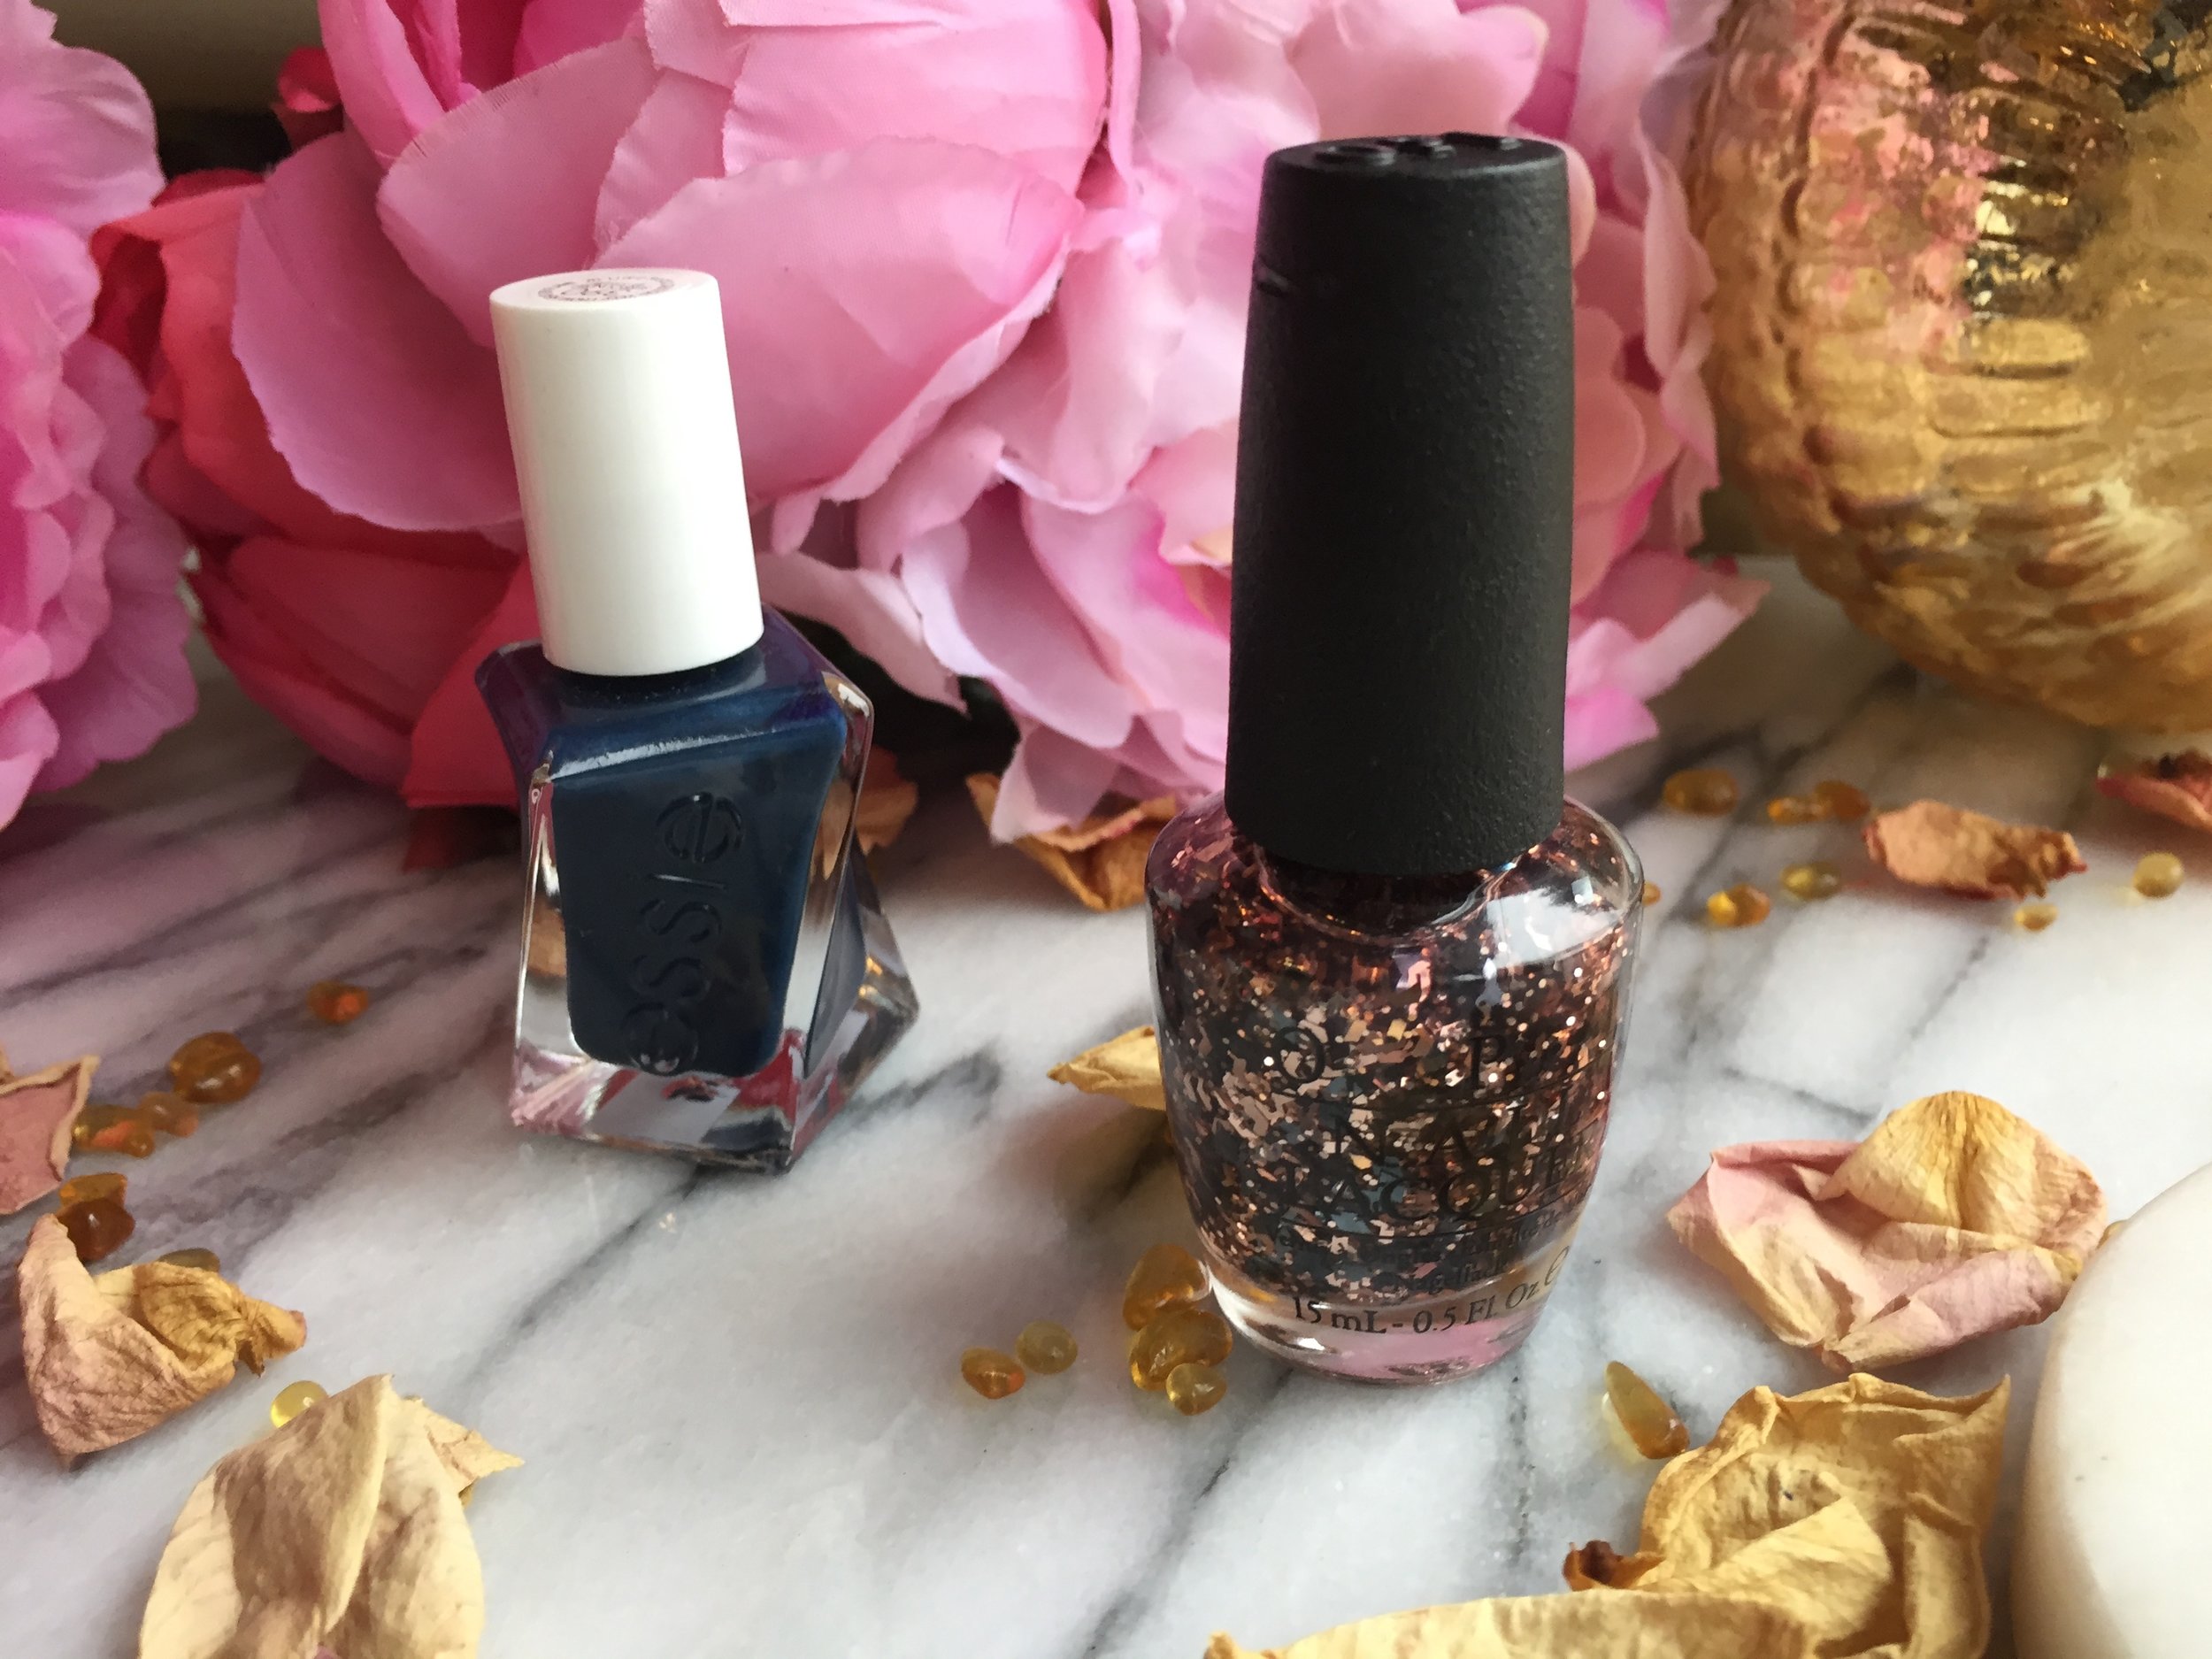
This combination plays on the contract between blue and orange, this is why it’s so visually appealing. Using chunky glitter on top of the navy base adds a fun touch to your nails while still looking chic and put together.
Essie Surrounded by Studs
Finish: Opaque

Navy and Copper Pairing |Essie Surrounded by Studs and OPI Two Wrongs Don’t Make a Meteorite
Colour Profile: Dark Navy Blue
Additional Accents: Creamy satin finish
Additional Comments: Wide brush makes application quick and easy
OPI Two Wrongs Don’t Make a Meteorite
Finish: Sheer
Colour Profile: Copper Glitter
Additional Accents: Clear base with copper and black glitter and microglitter
Additional Comments: none
The Process
The steps to create this look are easy and simple, after applying your base coat, you can use which ever one you prefer, apply one coat of Essie Surrounded by Studs. This polish is able to reach full opacity in one coat, so multiples are not needed, though you can add another if that is your preference. Once the navy blue polish is sufficiently dry, dab on the OPI Two Wrongs Don’t Make a Meteorite shade. I say dab because this will allow you to better place the glitter on your nail, allowing you to get better coverage. Once you’ve applied enough glitter, let the polish dry and then add a top coat to seal it all in. And voila a nice navy and copper look.
Red Gradient with Glitter Accent
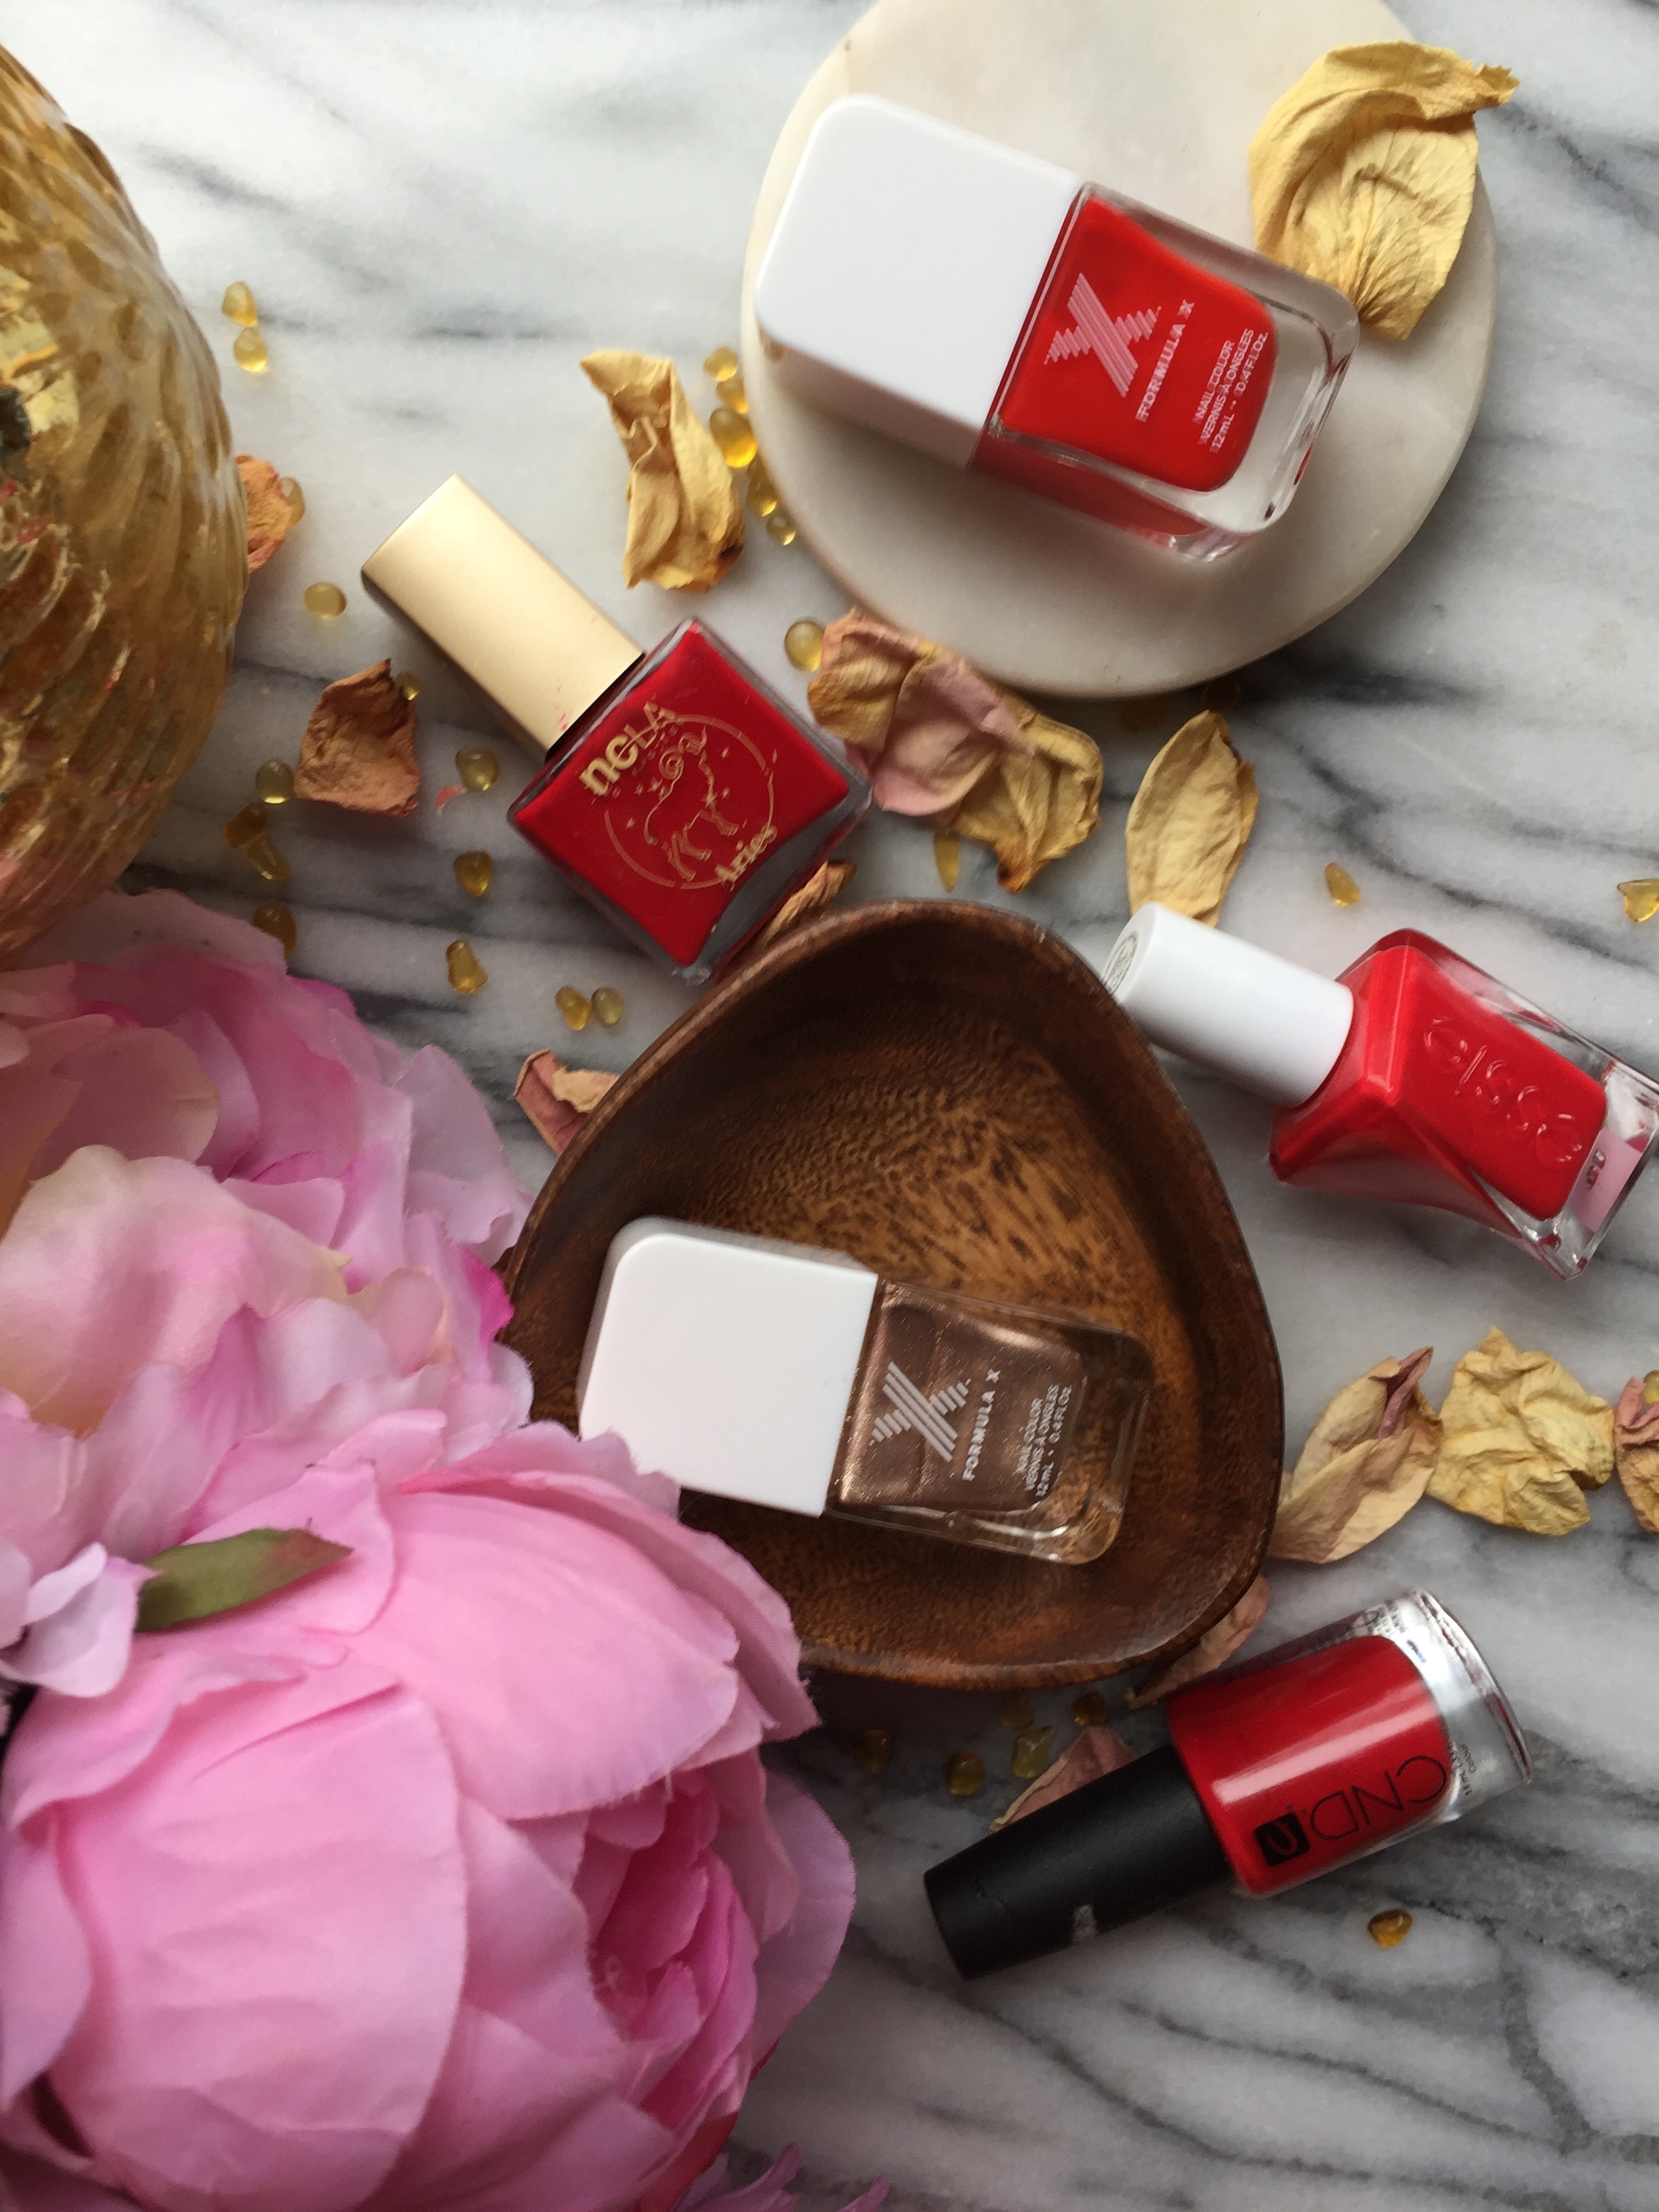
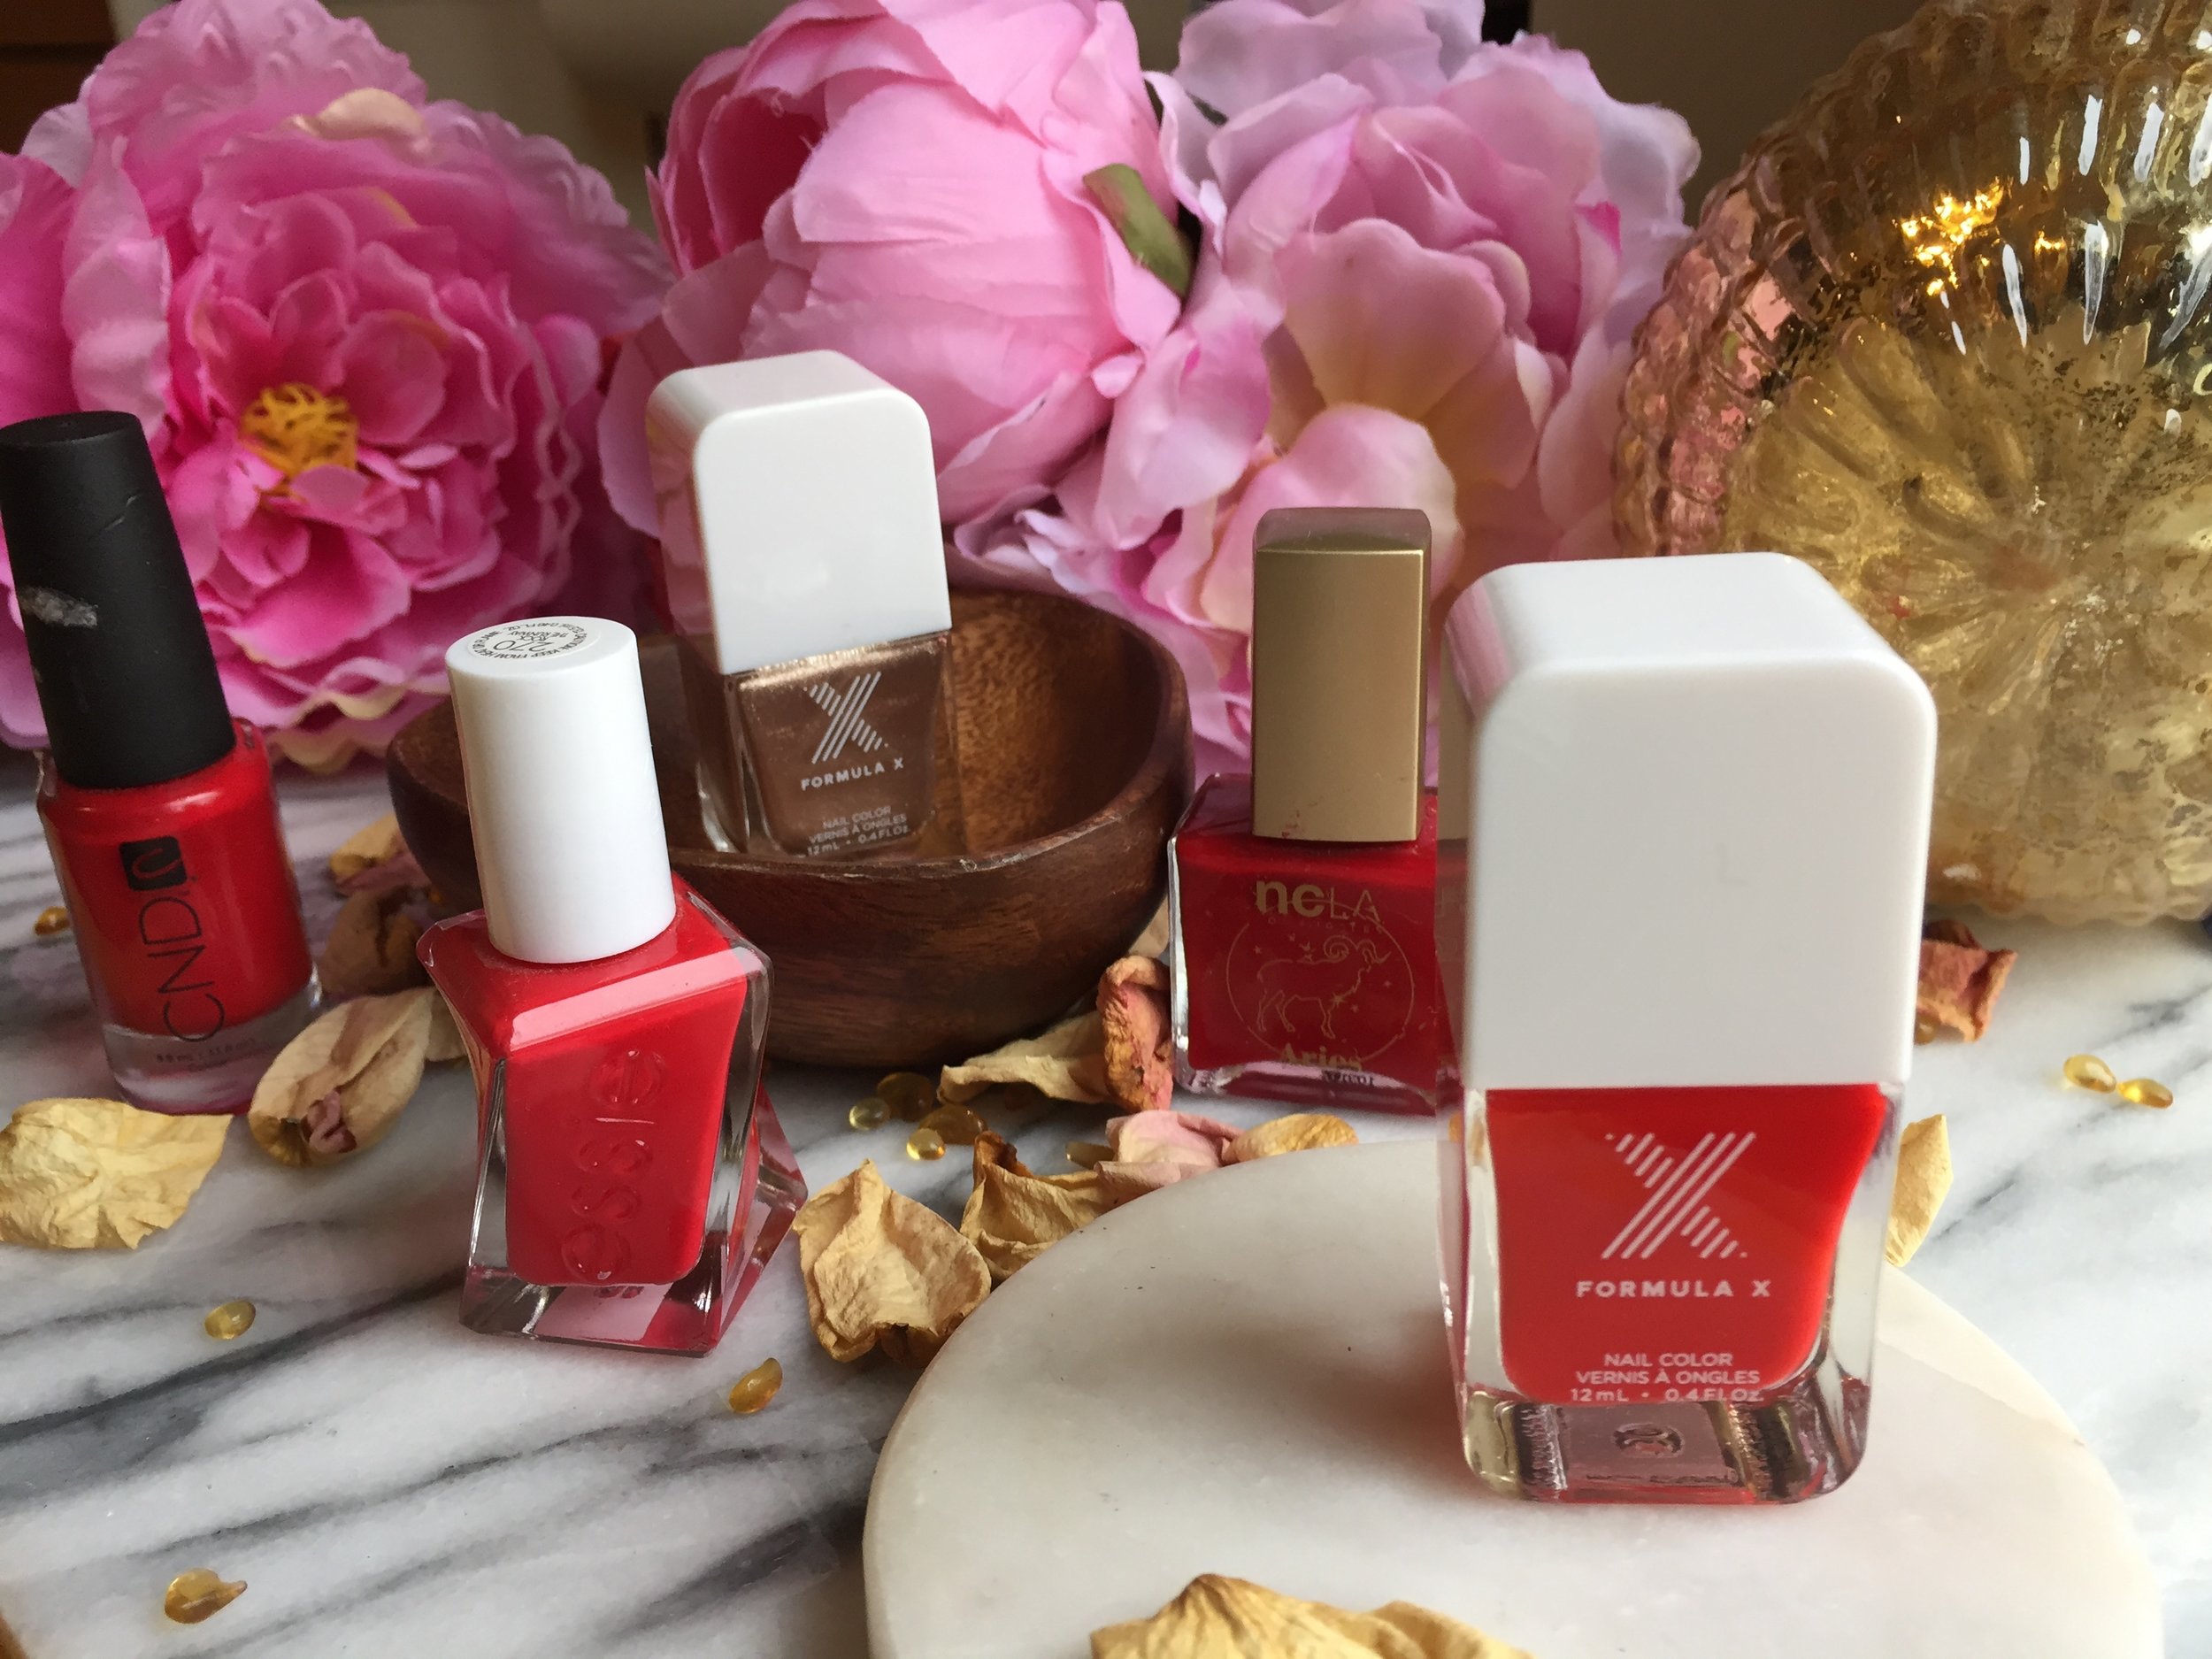
This is a great way to tie in a bunch of red nail polish in one look. If you’ve amassed a large collection like I have, you’re sure to have quite a selection of red and berry toned shades.
NCLA Aries
Finish: Opaque

Red Gradient with Glitter Accent | NCLA Aries, CND Rouge Red, Essie Rock The Runway, Formula X Haute Sauce and Formula X Revved Up
Colour Profile: Raspberry Red
Additional Accents: Creamy gloss finish
Additional Comments: Wide brush makes application easy, may stain nail
CND Rouge Red
Finish: Opaque
Colour Profile: Bright Red
Additional Accents: Blue based red
Additional Comments: none
Essie Rock The Runway
Finish: Opaque
Colour Profile: Scarlet Red
Additional Accents: Creme formula
Additional Comments: Wide brush makes application super easy, with little mess
Formula X Haute Sauce
Finish: Semi-Sheer

Colour Profile:Tomato Red
Additional Accents: Slightly orange toned
Additional Comments:
Formula X Revved Up
Finish: Opaque
Colour Profile: Rose Gold Metallic
Additional Accents: Rose gold base with superfine shimmer
Additional Comments: none
The Process
Like the Navy and Copper this holiday look is quick and easy. After you’ve applied your base coat start at your thumb with NCLA Aries, this colour is usually opaque with 1 coat though you may want to go back and add another one. On your index finger apply Rouge Red, followed by Rock the Runway on your middle finger. When you get to you ring finger apply Revved Up, the rose gold metallic shade and then round it out with Haute Sauce on your pinky. When the first coat is dried you can go back in and add a second coat to each of the polishes, followed by the top coat of your choice.
Neutral with Glitter Accent
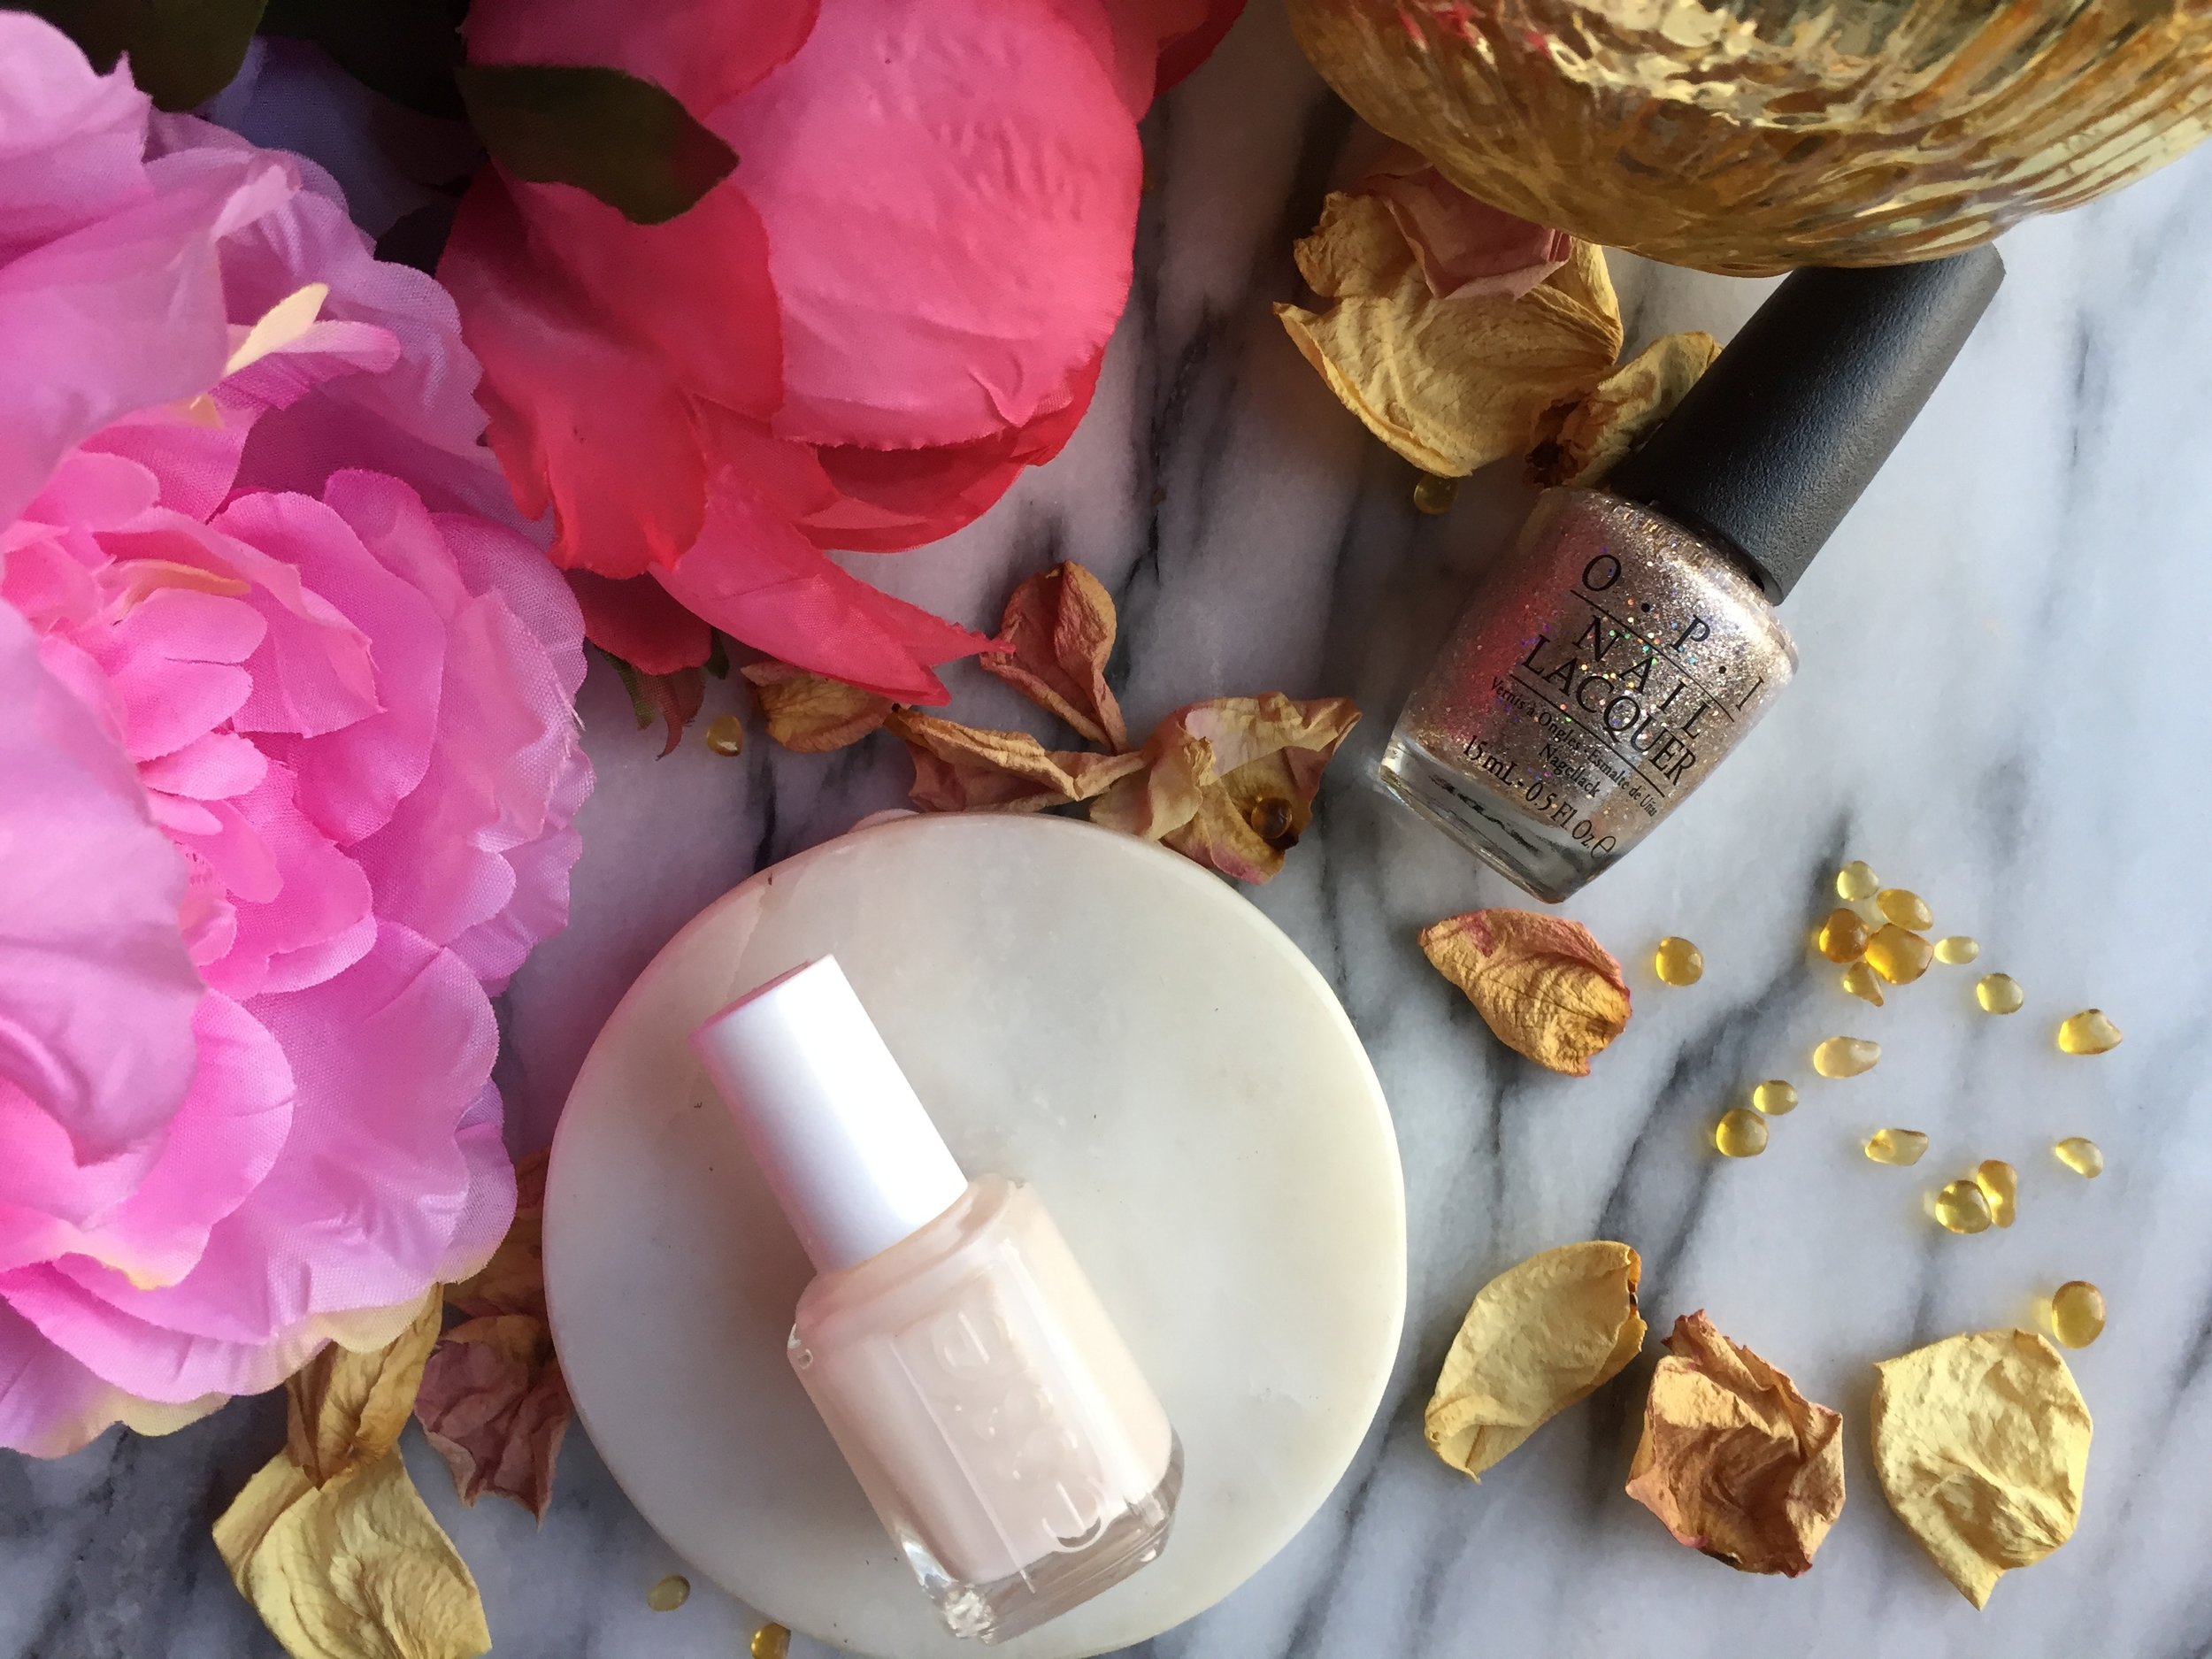
This is a soft look and an easy way to incorporate glitter into your look without feeling overwhelmed. With precise glitter application, it keeps your look minimal and clean.
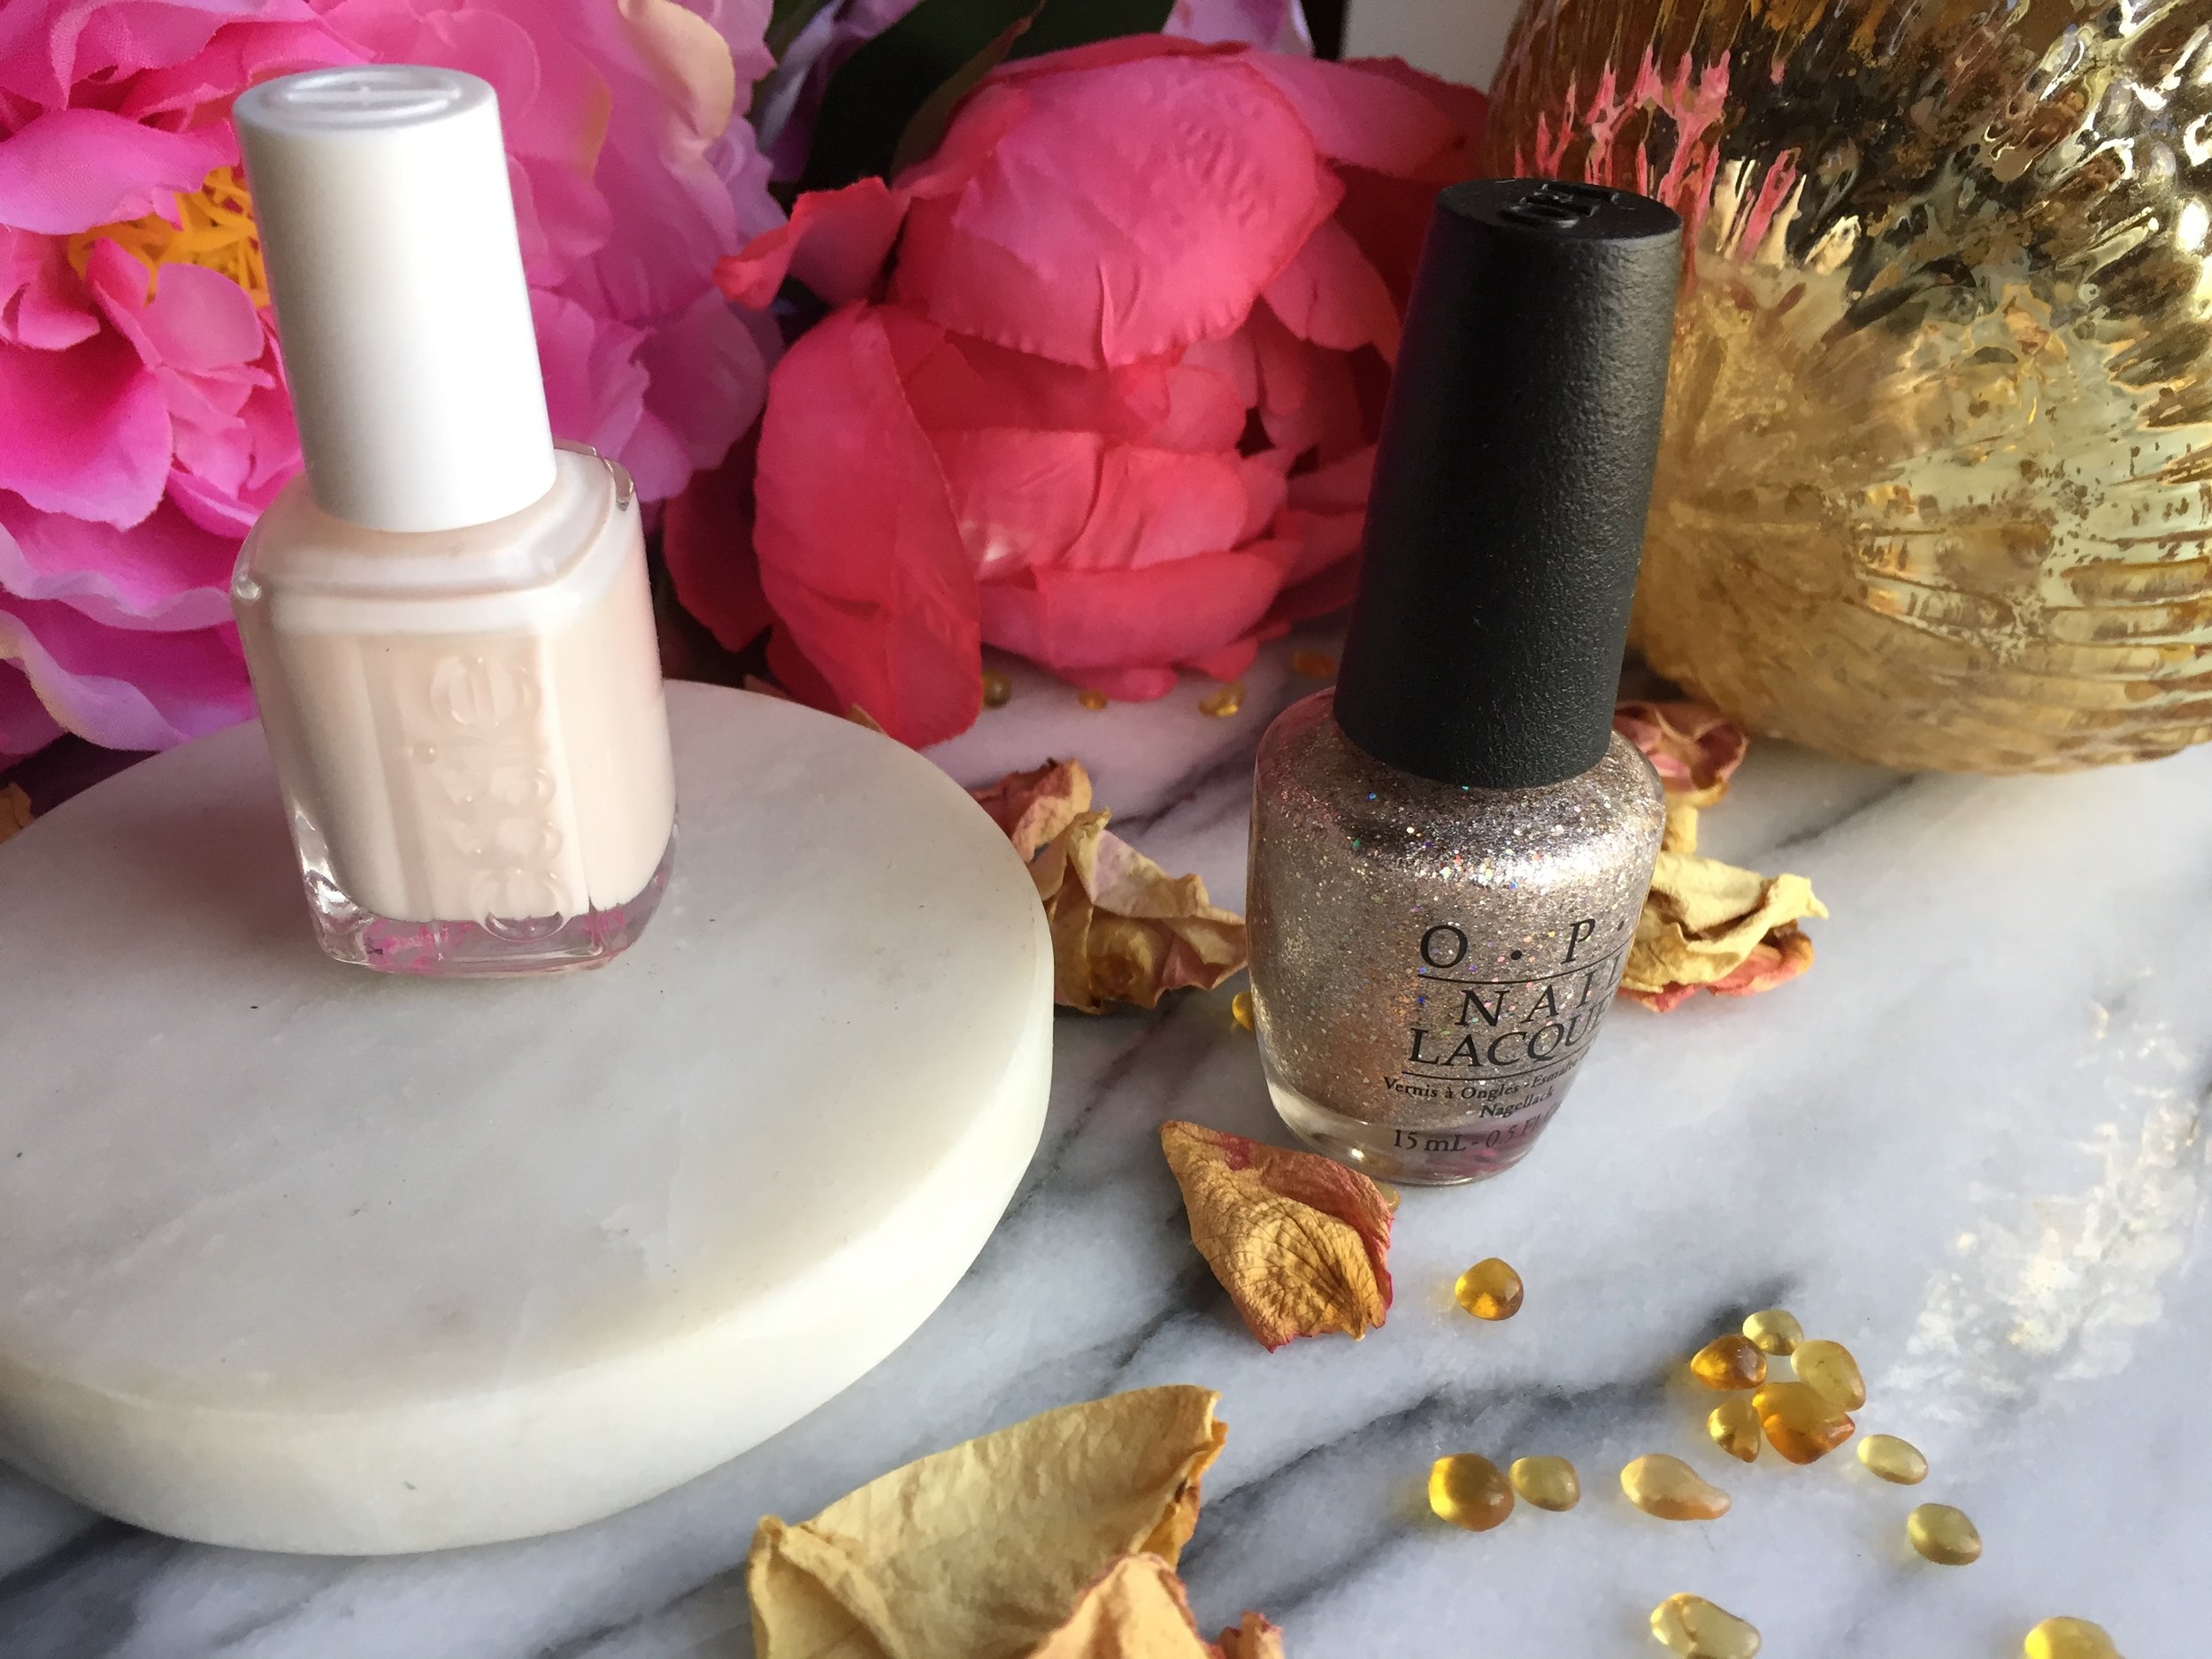
Essie Limo-Scene
Finish: Sheer, can be built up

Neutral with Glitter Accent | Essie Limo-Scene and OPI Ce-less-tial is More
Colour Profile: Soft Pastel pink
Additional Accents: Creamy Satin Finish, with a strong white base
Additional Comments: Polish can look a little thick if built up to reach full opacity, which for me is about 4 layers
OPI Ce-less-tial is More
Finish: Semi-Sheer
Colour Profile: Rose Gold Glitter
Additional Accents: Silver and rose gold glitters, microglitters and shimmer in a clear base
Additional Comments: Has a slight textured feel to it when polish dries
OR..
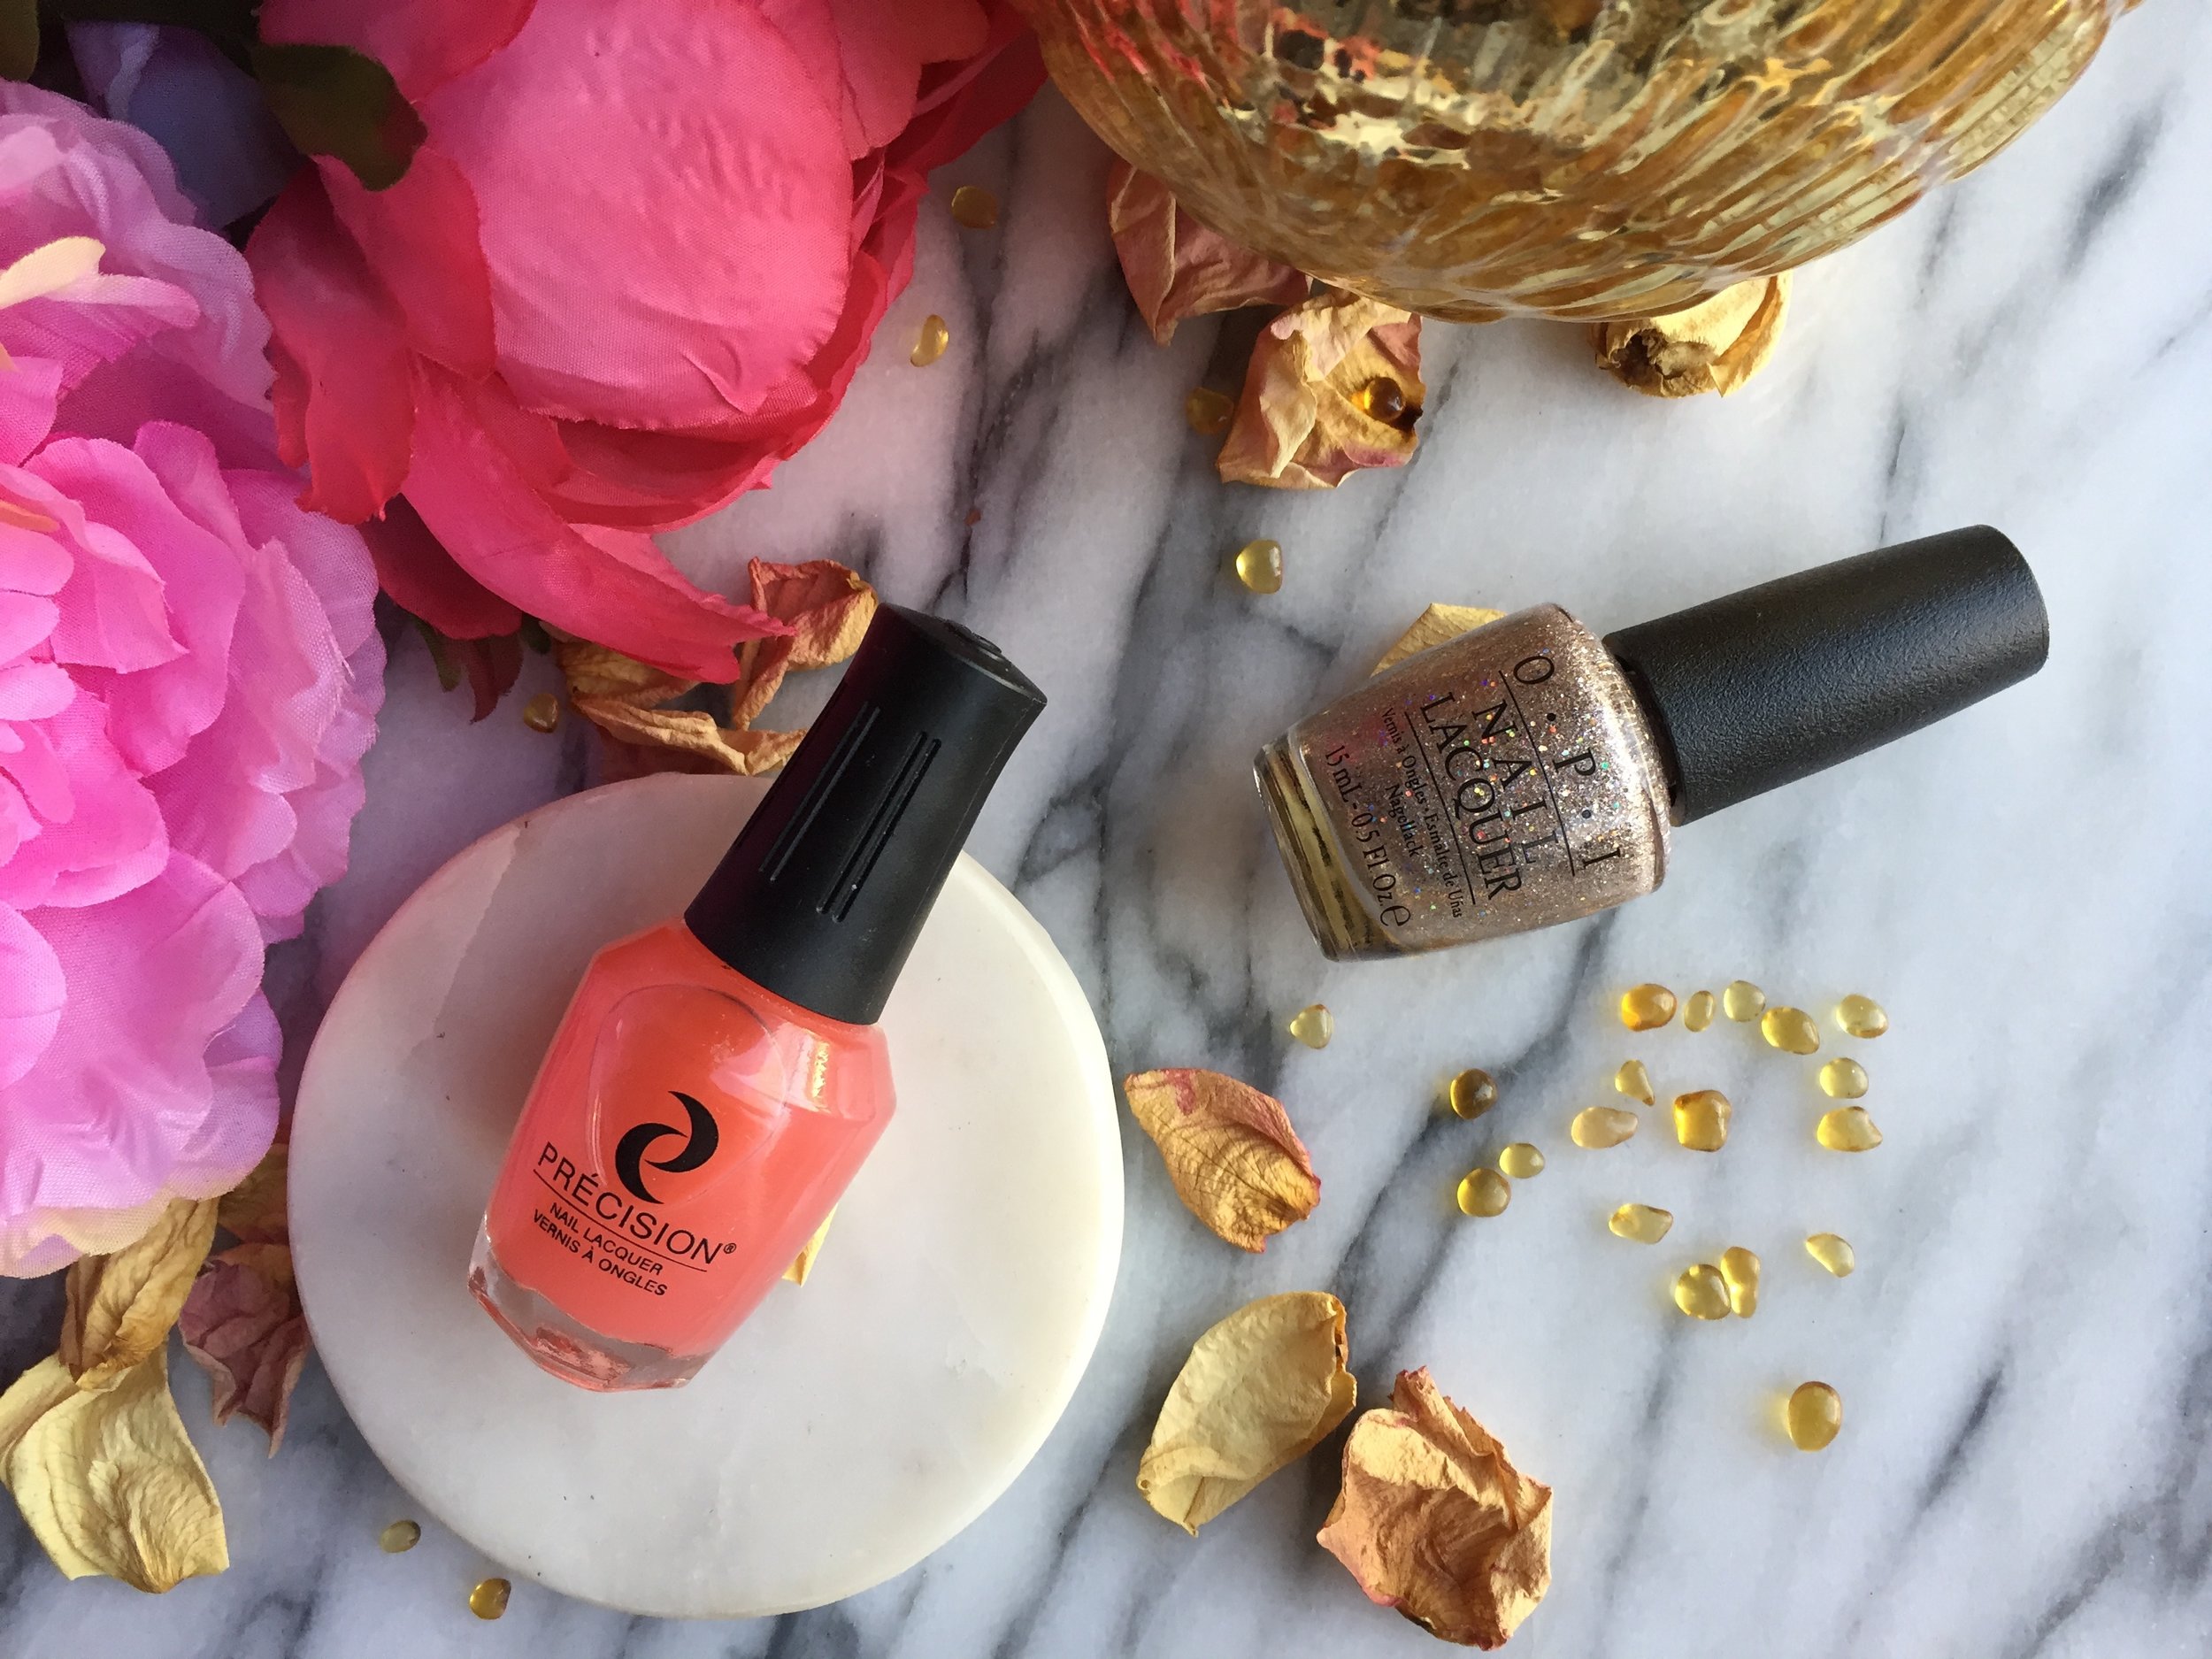
Precision French Lick
Finish: Sheer

Neutral with Glitter Accent | Precision French Lick and OPI Ce-less-tial is More
Colour Profile: Soft Pink
Additional Accents: Applies to the nail clear
Additional Comments: Dries fast with glossy finish
OPI Ce-less-tial is More
Finish: Semi-Sheer
Colour Profile: Rose Gold Glitter
Additional Accents: Silver and rose gold glitters, microglitters and shimmer in a clear base
Additional Comments: Has a slight textured feel to it when polish dries
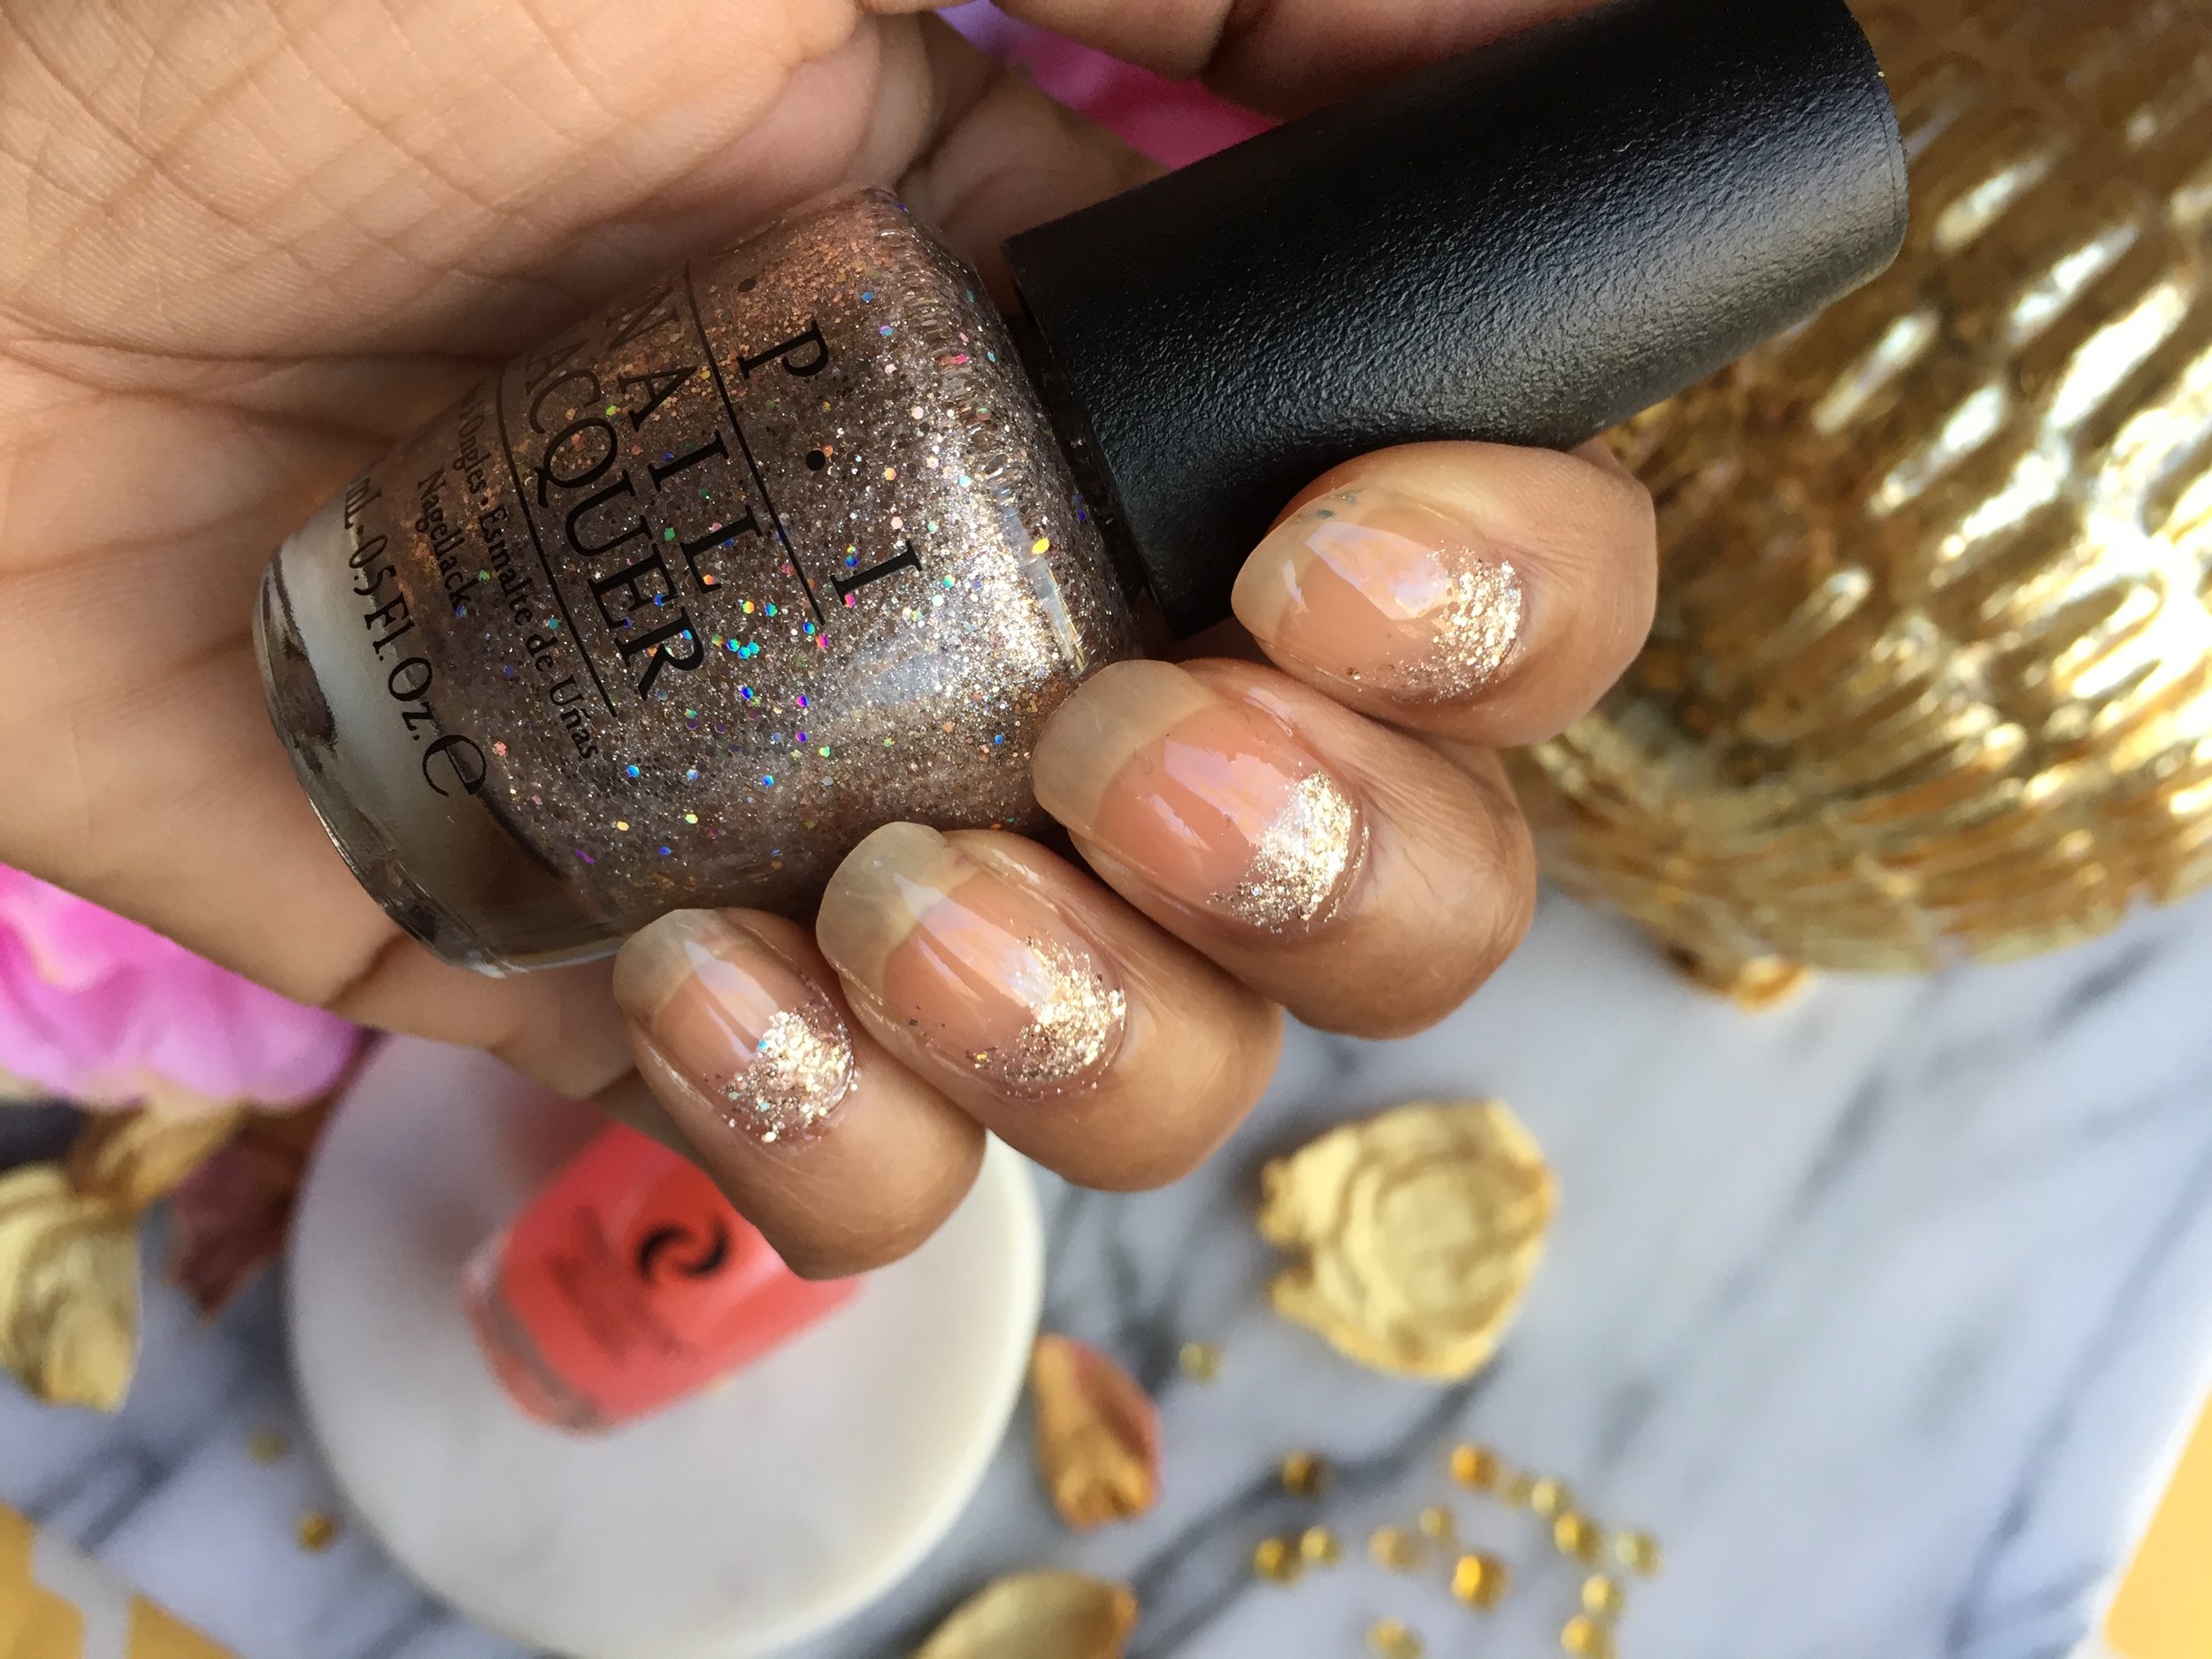
The Process
This might just be the quickest look to create, depending on which polishes you use. If you use the Essie Limo-Scene then it will take you a bit longer as that polish needs 3-4 coats to become fully opaque, though if you want a softer feel leaving it a bit sheer will work best. So apply 2 coats of your chosen polish on top of your base coat, let those dry. For the glitter nail bed, I found that using a Q-tip worked best. Take the rounded end of your q-tip and apply a small amount of the glitter polish, take the q-tip and gently dab it at the base of your nail, spreading it around the curve of your nail bed. This allows for maximum glitter application without the mess. Once you’ve completed this for all of your nails, let the polish dry and then add your top coat.
So, what did you think? Are there any polishes that you like to pair together? Let me know in the comments below.